
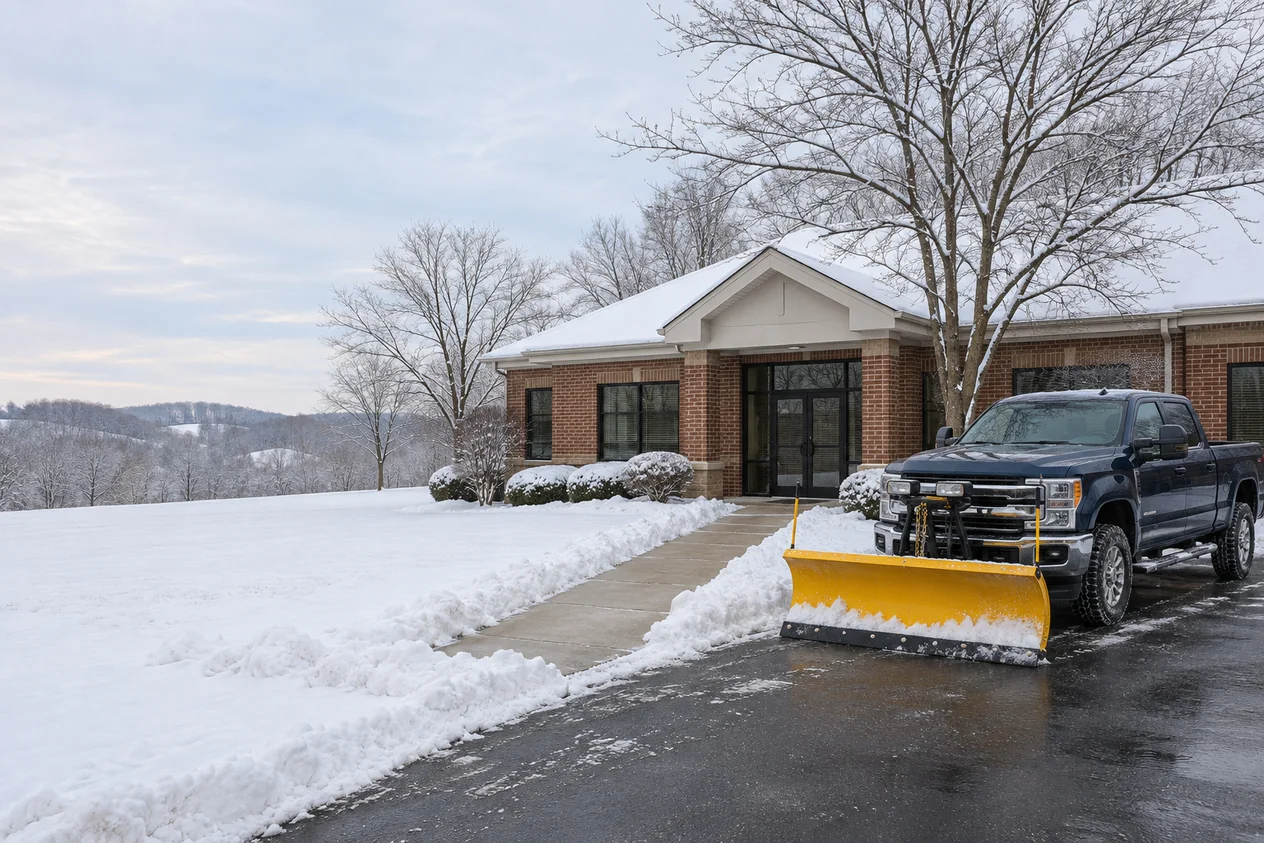
A workable snow-removal plan begins with a map of the property and a clear assignment of responsibilities. For a Kentuckiana HOA, apartment community, shop, or office, “clear the lot” leaves too much unanswered. People still need to get from a parking space to an entrance, deliveries need access, and someone has to decide what happens when conditions change after a crew leaves.
Use this checklist before requesting proposals. It will help you describe the same work to each company and avoid buying a service that covers only part of the property. Our snow and ice removal directory includes providers offering commercial and HOA work in the Louisville area, with regional coverage described in each profile.
1. Assign a decision-maker and a backup
Choose one person who can answer the contractor's questions and approve work outside the regular scope. Name a backup who can take over if that person is unavailable. A crew should not need to contact an entire board or several tenants to resolve a blocked gate or a request for another treatment.
Write down the normal contact number, the after-hours method, and who receives service updates. Decide whether residents and tenants should contact management first or use a contractor dispatch number. Distribute that instruction before winter rather than leaving people to improvise during the first storm.
Keep these contacts in a place accessible to the people opening the building. If a phone or internet connection is unavailable, a printed copy at the property can still be useful.
2. Mark every area included in the agreement
Start with an aerial image or a simple site drawing. Number the entrances and mark the areas that need clearing. Include the pedestrian route between parking and the building, not only the vehicle lanes. Walk the map with the contractor so the two of you can resolve uncertain boundaries.
- Main access drives and parking aisles.
- Designated parking spaces and adjacent access areas.
- Sidewalks, ramps, steps, and entrance landings.
- Loading areas and delivery access.
- Trash and recycling access points.
- Shared roads, paths, and mail areas.
- Approved snow-storage locations.
For an HOA, explicitly mark private driveways and walks that are outside the common-area agreement. If residents can buy additional service, describe how they arrange it and who pays. A neighborhood contract should not leave each homeowner guessing whether a truck will visit their driveway.
3. Agree on priorities and access needs
Tell the contractor when people use the property. A shop that opens early, a residential building occupied overnight, and an office with staggered shifts have different patterns. Identify the first entrances and routes you need addressed and ask how those priorities fit into the provider's winter schedule.
Discuss the width and continuity needed along routes used by people with mobility devices. Keep those routes on the map, including the connection from parking to the door. Ask the appropriate property professional about any specific accessibility or local requirements that apply to your site.
Ask for a realistic response window and a description of what happens during ongoing snowfall. Avoid treating “24-hour service” as a promise that every part of the property will be cleared at the same moment.
4. Define snow triggers and ice response separately
Get the dispatch trigger in writing. If the contractor uses a snowfall depth, ask how it is measured and whether drifting or continued snowfall changes the schedule. Decide whether return visits are automatic, requested, or separately authorized.
Then address ice-only conditions. Who decides when pretreatment or deicing is needed? Who checks the site after a thaw? How is a return visit billed? The National Weather Service describes how overnight refreezing can create hard-to-see ice, so a plan based only on total snowfall leaves an important question unanswered.
Our snow removal versus deicing guide explains the distinction in more detail. Share it with anyone comparing proposals so the board or management team uses the same terms.
5. Decide where the snow will go
Walk the proposed storage areas while the property is visible. Identify low walls, curbs, drains, signs, utility access points, and landscape fixtures. Agree which locations must remain open and where accumulated snow can sit without blocking the routes on your map.
Think through what happens after several visits. A storage location that works for the first snowfall may eventually run out of room. Ask what would trigger moving snow elsewhere or hauling it away, who authorizes that work, and how it is priced.
Document sensitive surfaces and existing damage with dated photographs. Give the contractor any relevant pavement or paver care instructions. This provides a common reference if a question arises later about a curb, edging, or a recently repaired section.
6. Compare proposals using the same scope
A one-line seasonal price is difficult to evaluate without the details behind it. Give each bidder the same map and priorities, then ask them to identify exclusions and additional charges. The cheapest headline price may cover fewer areas or visits.
- Clearing: Which parking, pedestrian, and loading areas are included?
- Materials: Are treatment products included, capped, or charged by application?
- Repeat visits: What happens during a long storm or after refreezing?
- Unusual accumulation: What changes when storage areas fill up?
- Access problems: How are parked cars, locked gates, or blocked areas handled?
- Season dates: When does the agreement start and end?
- Extra work: Who must approve it, and how is that approval recorded?
Request appropriate insurance documentation and references for similar properties. Read the agreement's allocation of responsibilities carefully. If you need advice about contract language or insurance coverage, get it from your own qualified adviser rather than relying on a service description.
7. Prepare residents, tenants, and staff
Send a short winter notice explaining where vehicles should park, which entrances are prioritized, and whom to contact about a problem. Give people enough detail to cooperate without asking them to interpret the contractor's full agreement.
For a neighborhood, make the boundary between shared and private work especially clear. For a business, tell opening staff how to report a blocked entrance or a slippery patch. Decide who can place temporary signs or redirect people while management contacts the contractor.
If staff use ice-management materials between contractor visits, agree on the product and recording process in advance. Keep the contractor informed about work already completed so that everyone understands the condition of the site.
8. Keep a simple service record
A practical record can be brief: date, observed conditions, areas serviced, materials applied, follow-up needed, and the person contacted. Agree which information the contractor provides after each visit and which checks belong to your staff or management team.
When an issue appears, record where it is and send a photo if that can be done safely. “The shaded walkway by entrance two is slippery” gives dispatch something useful to act on. Keep the resolution with the original note so the next person does not have to reconstruct the conversation.
Review the plan after the first event. Did the crew have access? Were the priorities understood? Were service messages sent to the right person? Adjust the written plan while the details are fresh.
Start with a property walkthrough
The LawnPro describes commercial and HOA snow-management agreements in Louisville and Southern Indiana. U.S. Lawns of Louisville offers commercial snow and ice work in the Louisville area. Ernst Landscaping lists commercial snow service alongside residential work. Each has a different service footprint and scheduling process, so begin with your address and property type.
Use our snow-removal booking guide to prepare the first call. Then request a walkthrough, compare proposals against your map, and choose an agreement your team can actually administer through the winter.